Cute and Cheap Farmhouse and Boho Style Pillow Covers on Amazon
This post contains affiliate links.
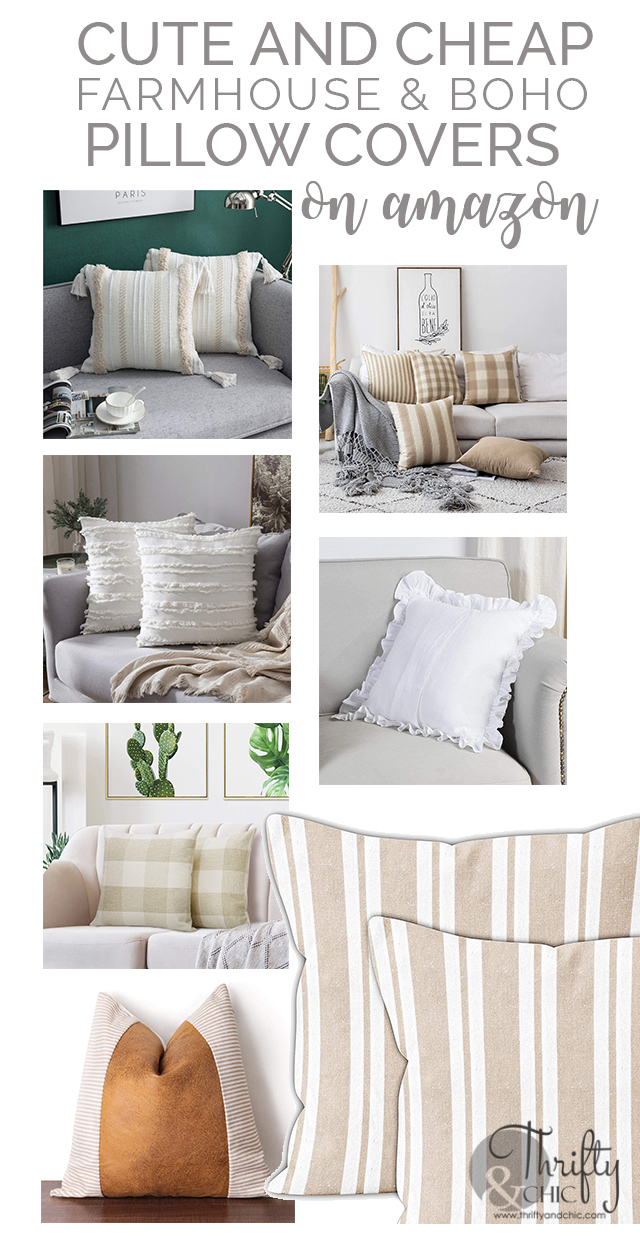
I'm sure like many of you, my shopping has been completely online lately. I've been in a search for some new pillow covers to update a couple of my spaces. So, over the past week, I've been adding all the ones I liked to my shopping cart. When I say I scoured Amazon in search of these....it's no lie. I literally came to the end of it ha! Like, there was no "next" button after my 50th page or so of searching :) I decided that my endless (technically one that did end on that 50th or so page) search may be of value to you all! So, I'm sharing my 21 top faves. I have already purchased some of these, and are expecting another few in the mail in the next week or so. When I get them, I'll definitely update this list with my pictures and review. I tried my best to pick ones that have high reviews of 4 stars or more. I've noticed that these are going fast, I had about 5 on this list that I added over the past few days that are already unavailable. Looks like lots of people are trying to get their home decor fix on Amazon! I didn't add the prices because those change up or down pretty often, but most of these are under $20 for 2 covers...and even the majority of those are under $15. Hope this gives you some inspiration and ideas on updating your home during this time :)
Cotton/Linen Striped Frayed Covers, 2 pack

Tufted Abstract Design Cover

Triangle Tufted Cover


Boho Style Cover with Tassels, 2 pack

Stripe and Plaid Set of Covers, 4 pack

Ruffle Pillow Covers, 2 pack

Cream Plaid Pillow Covers, 2 pack

Textured Velvet Pillow Cover


Double Striped Covers, 2 pack

Linen Burlap Trimmed Covers, 2 pack

Lace Striped Linen Covers 2 pack

Tartan-type Plaid Cover, 2 pack

Thick Striped Cover

Pin for later:
Disclosure of Material Connection: Some of the links in the post above are “affiliate links.” This means if you click on the link and purchase the item, I will receive an affiliate commission. Regardless, I only recommend products or services I use personally and believe will add value to my readers. I am disclosing this in accordance with the Federal Trade Commission’s 16 CFR, Part 255: “Guides Concerning the Use of Endorsements and Testimonials in Advertising.”
I'm sure like many of you, my shopping has been completely online lately. I've been in a search for some new pillow covers to update a couple of my spaces. So, over the past week, I've been adding all the ones I liked to my shopping cart. When I say I scoured Amazon in search of these....it's no lie. I literally came to the end of it ha! Like, there was no "next" button after my 50th page or so of searching :) I decided that my endless (technically one that did end on that 50th or so page) search may be of value to you all! So, I'm sharing my 21 top faves. I have already purchased some of these, and are expecting another few in the mail in the next week or so. When I get them, I'll definitely update this list with my pictures and review. I tried my best to pick ones that have high reviews of 4 stars or more. I've noticed that these are going fast, I had about 5 on this list that I added over the past few days that are already unavailable. Looks like lots of people are trying to get their home decor fix on Amazon! I didn't add the prices because those change up or down pretty often, but most of these are under $20 for 2 covers...and even the majority of those are under $15. Hope this gives you some inspiration and ideas on updating your home during this time :)
Cotton/Linen Striped Frayed Covers, 2 pack
Tufted Abstract Design Cover
Triangle Tufted Cover
Boho Style Cover with Tassels, 2 pack
Stripe and Plaid Set of Covers, 4 pack
Ruffle Pillow Covers, 2 pack

Cream Plaid Pillow Covers, 2 pack
Textured Velvet Pillow Cover
Double Striped Covers, 2 pack
Linen Burlap Trimmed Covers, 2 pack
Lace Striped Linen Covers 2 pack
Tartan-type Plaid Cover, 2 pack
Thick Striped Cover
Pin for later:
Disclosure of Material Connection: Some of the links in the post above are “affiliate links.” This means if you click on the link and purchase the item, I will receive an affiliate commission. Regardless, I only recommend products or services I use personally and believe will add value to my readers. I am disclosing this in accordance with the Federal Trade Commission’s 16 CFR, Part 255: “Guides Concerning the Use of Endorsements and Testimonials in Advertising.”


